

Using Knit's Communication APIs, you can send text as well as interactive messages to any Slack channel or user either using Knit's Bot or your own Bot. In this guide, we will help you understand which kind of bot to use for development and which one to use for production.
Using Knit's Slack Bot
Knit Slack Bot is meant for testing only. It will help you get familiar with the communication APIs. For the production use cases, you must setup your own bots.
If you wish to use Knit Slack Bot then it is a simple one step process. You just need to select Slack, after which a typical question (similar to other apps) will be asked. You need to follow the OAuth flow and the app will be installed in your workspace.
However, this should be done only for development/testing. **Please do not use Knit's Bot in production!**
Using your own Bot
You should use your own Bot in production. Do not use Knit's Bot for production use cases.
There are two simple steps to get started with your own Bot.
- Create your Bot with Slack.
- Register the OAuth creds like client ID and secret of your Bot with Knit.
1. Create your Bot with Slack
Follow these steps below to create a Bot on Slack.
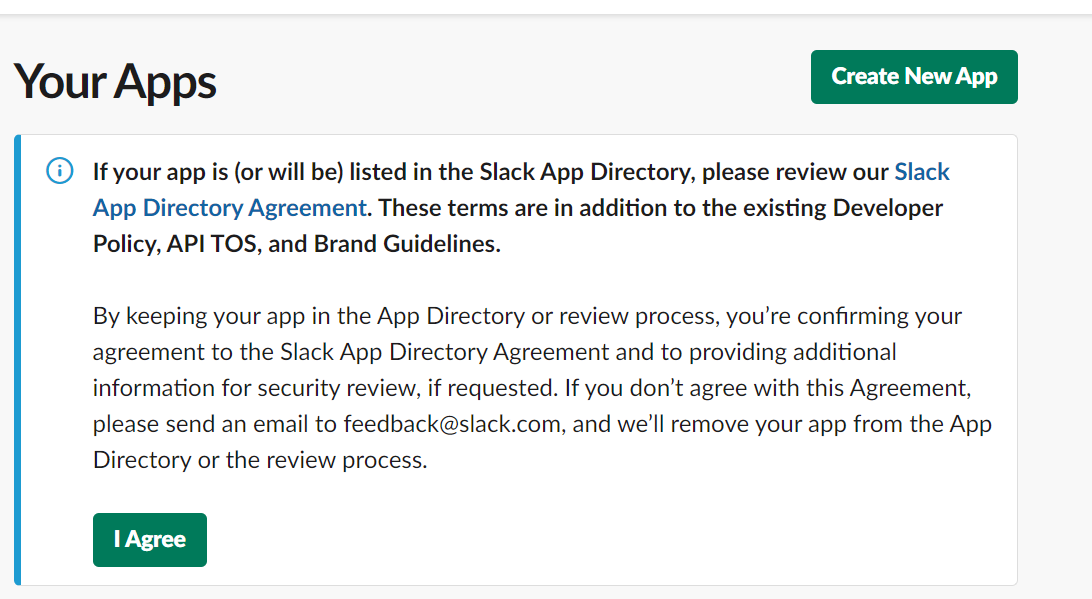
1. Visit Your Apps and sign in with your account to create App.
2. Click on the option: _Create new App_
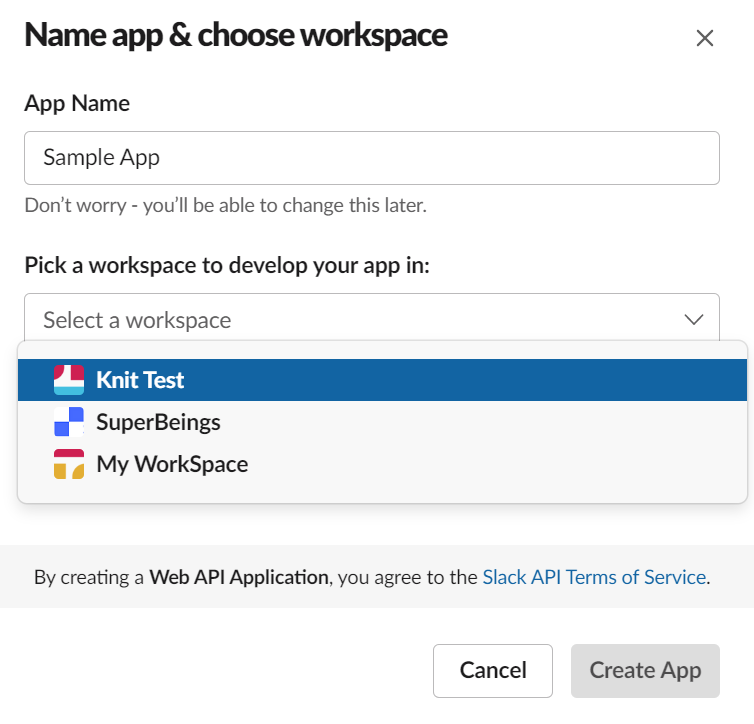
3. Select the option: _From scratch_

4. You will be asked to provide a Name of App. You can choose a workspace linked to the signed in account in which you wish to create the app. Click on: _Create App_
5. On clicking _Basic Information_ in the left panel, at the end of page you can add _Display Information_ such as App Image, Description etc.
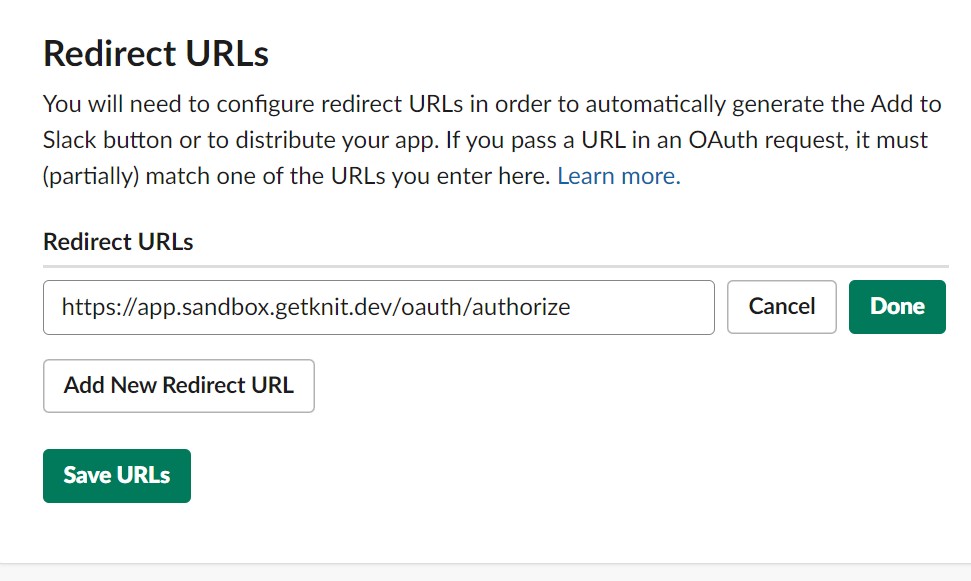
6.Now, configure the redirect URL .
Things to consider:
1. Use https://app.getknit.dev/oauth/authorize for Production
2. Use https://app.sandbox.getknit.dev/oauth/authorize for Sandbox
3. Do not forget to click on _Save URLs_
7. Now, add the following scopes
- channels:read
- chat:write
- chat:write.customize
- chat:write.public
- groups:read
- users:read
- users:read.email

8. If you want to subscribe to other Slack events, click here and do the steps mentioned in this guide.
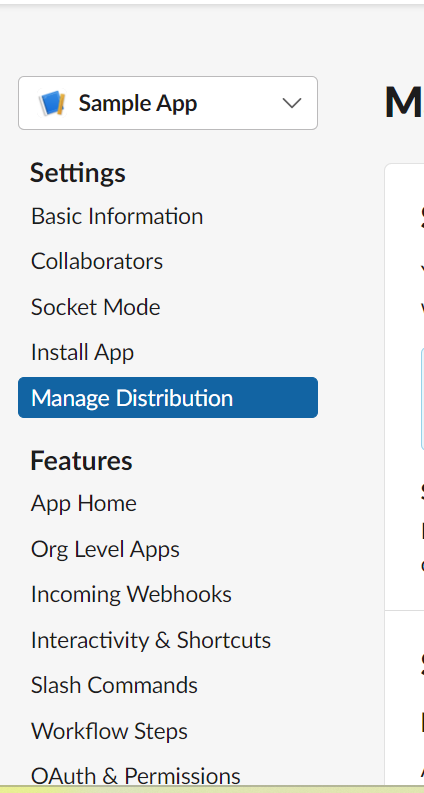
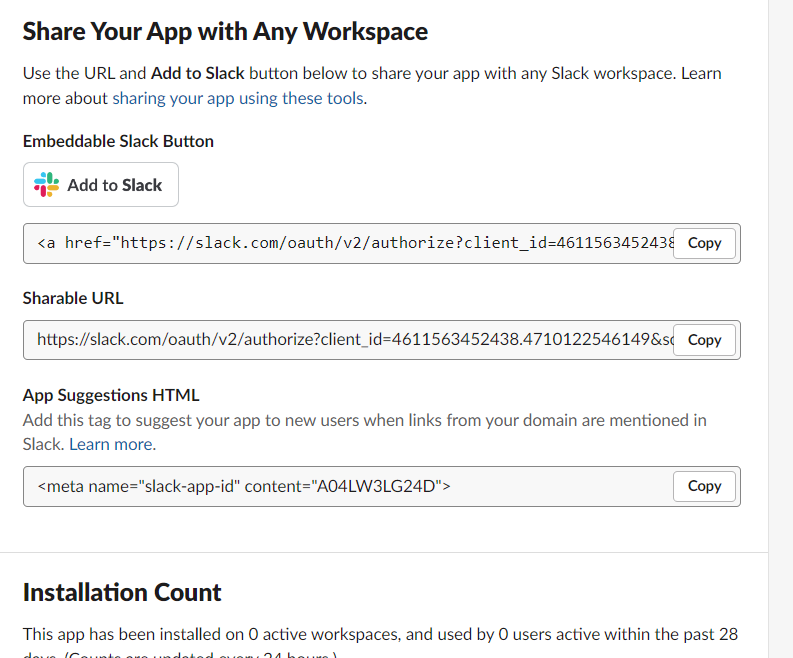
9. Congratulations! Your Bot setup is done. Next, you must enable public distribution of the Bot for your users to discover and use this new Bot. To begin, click on _Manage Distribution_ on the left panel
10. To finally enable public distribution, just tick the checkbox for _I’ve reviewed and removed any hard-coded information_ and then click on _Activate Public Distribution_ button

11. Congratulations! Your Bot is now available for others to install.
You have now created your own Slack Bot! However, there's one small step to do before you can use Knit's API on your new Bot.
2. Register the OAuth creds like client ID and secret of your Bot with Knit
Share Bot's client ID and client secret with Knit via Register OAuth Cred API and that's it. You're all set to use Knit's API! 😀
%20(3).png)

.webp)
.png)
.webp)

