

Using Knit's Communication APIs, you can send text as well as interactive messages to any Teams channel or user either using Knit's Bot or your own Bot. In this guide, we will help you understand which kind of bot to use for development and production.
Using Knit's Teams Bot
The Knit Unified API's Teams Bot is for only testing and getting familiar with communication APIs. For the production use cases, organizations must setup their own bots.
Using Knit MS Teams bot for communication purpose mainly requires two steps-
Step I: Adding the Teams link during setup
- First, you click on the MS Teams icon in the communication section of Knit apps.
- On clicking the MS Teams icon you have to add your Teams link in which the bot needs to be installed [Check this out How to get teams link]

Step II: Installing Knit's Bot in the team
1. The Knit Bot will be installed via a package file provided by us. Click on the _**Upload an app**_
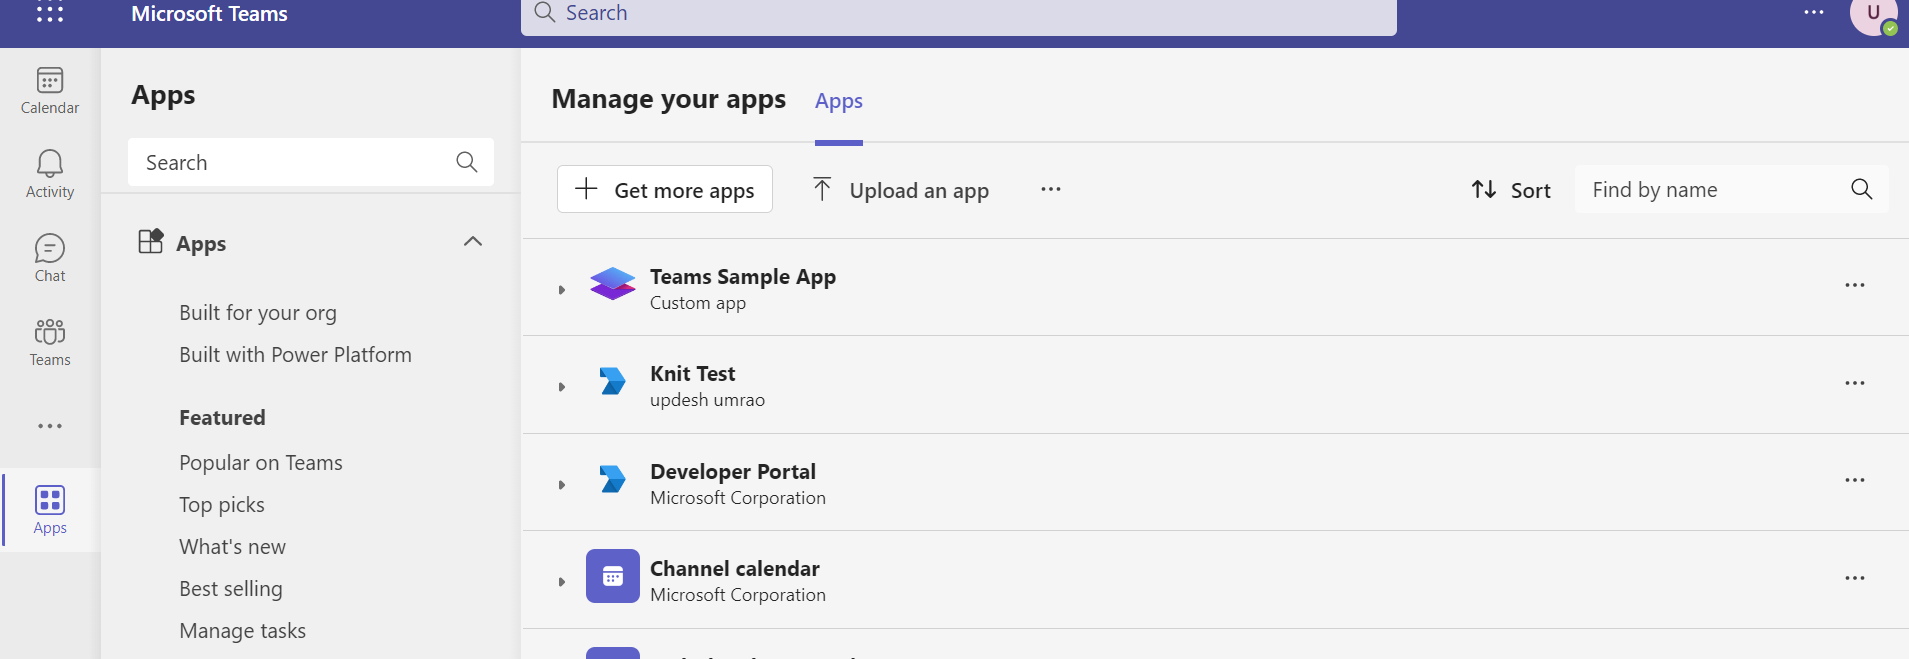
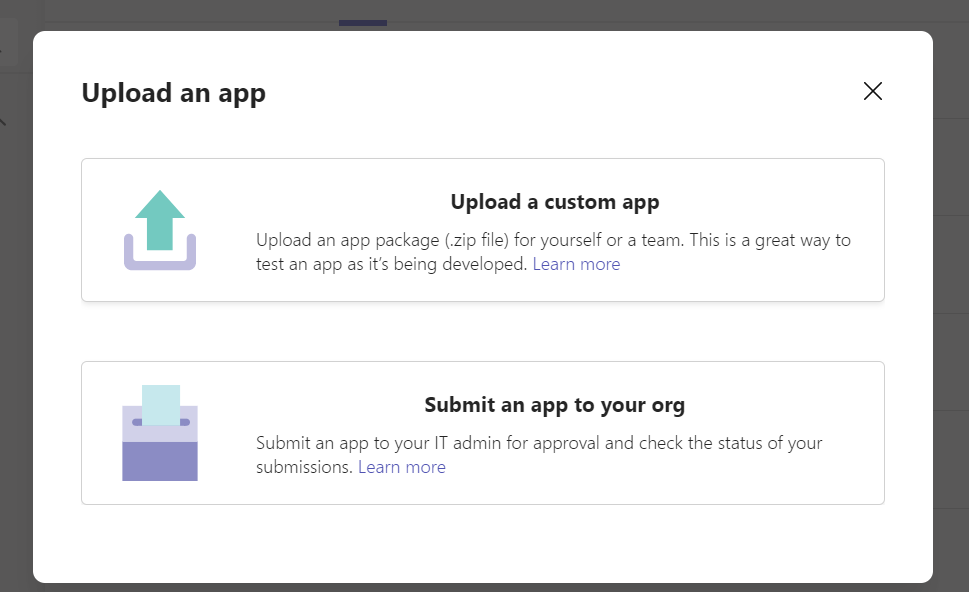
2. Then choose_**Upload a custom app**_ . Add Knit's Package here. [Knit's Bot Package]
3. After successful upload a pop-up will open where you click on - _**Add to a team**_

4. Then select the _**General**_ channel in the populated channels list.
👍 Congratulations your setup is complete. You can use this Bot for development or testing purpose.
Using Your own Bot
You should use your own Bot in production. Do not use Knit's Bot for production use cases.
This involves a two step process -
- Create your Bot with the MS Teams.
- Provide OAuth credentials to knit using [Register OAuth Cred]
Create your Bot with MS Teams
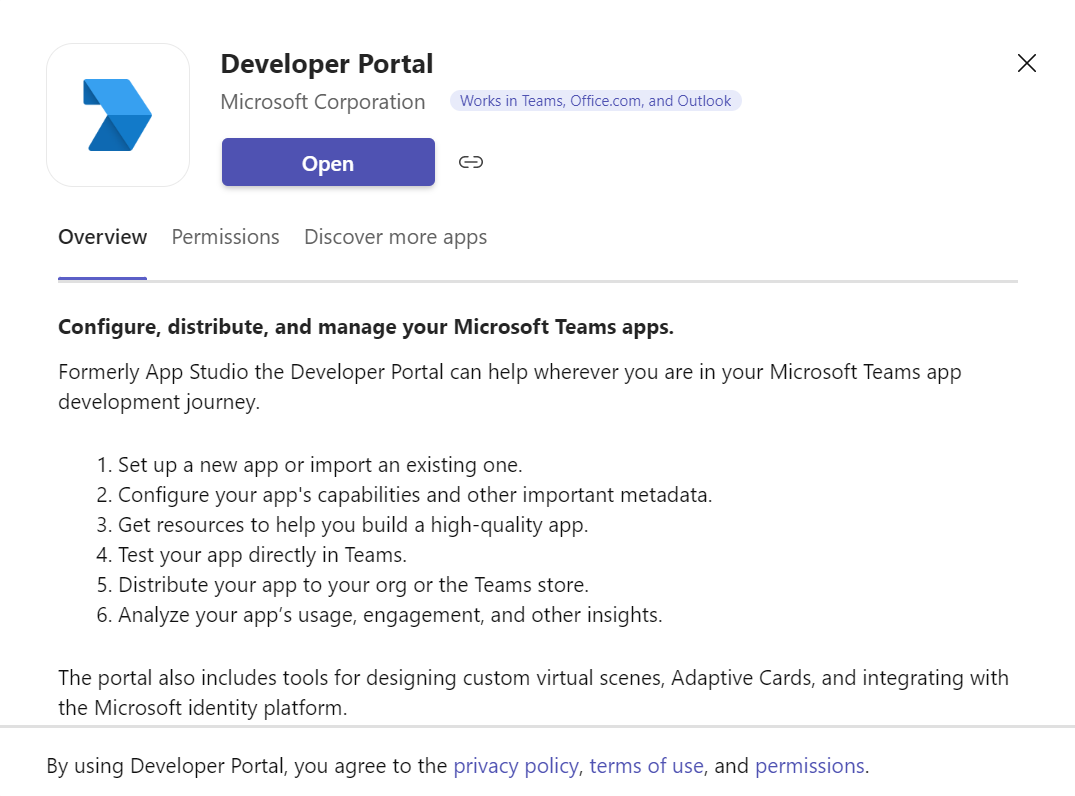
1. First, you need _Developer Portal_ App from Microsoft Teams Store to build MS Teams Bot.
2.After Installing it, open and navigate to the _ Apps_ section.
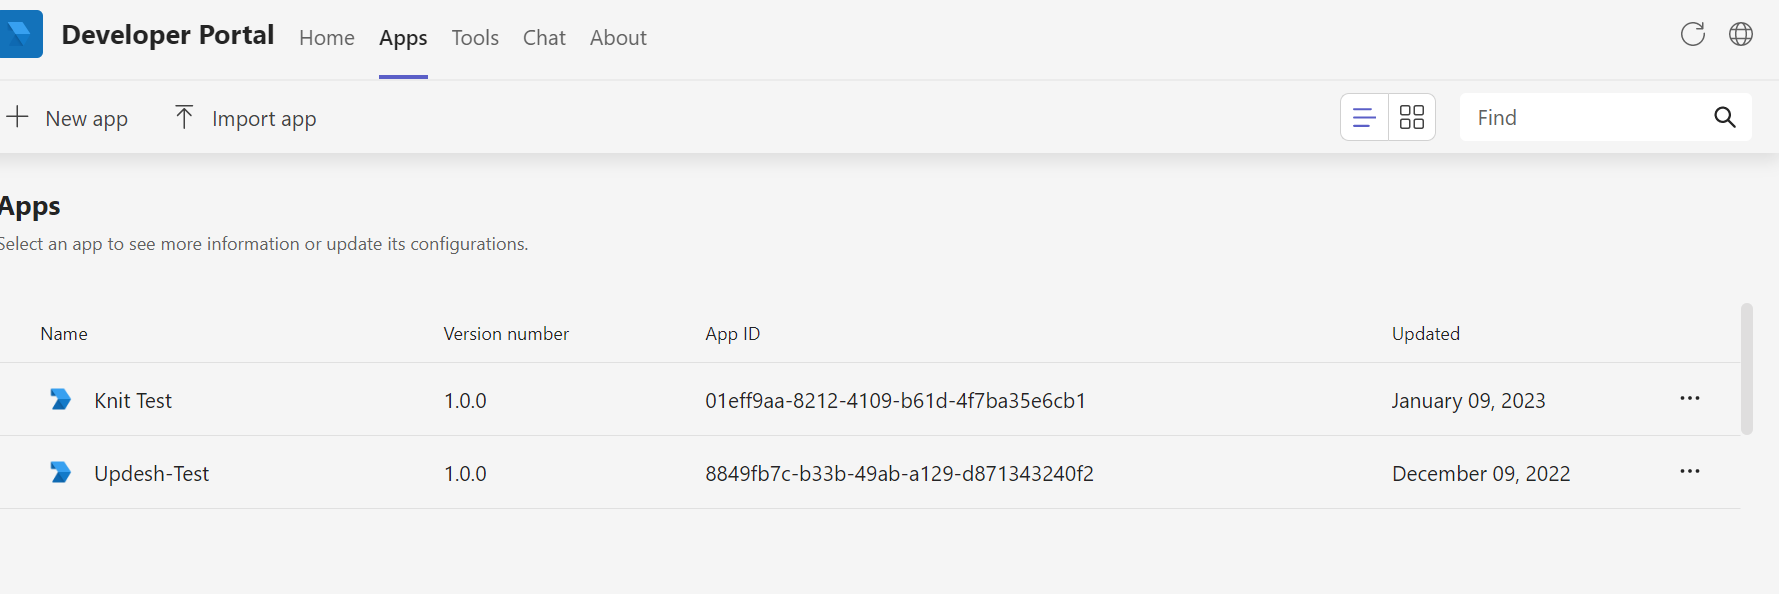
3. Now, select the **+** icon to create a new app.
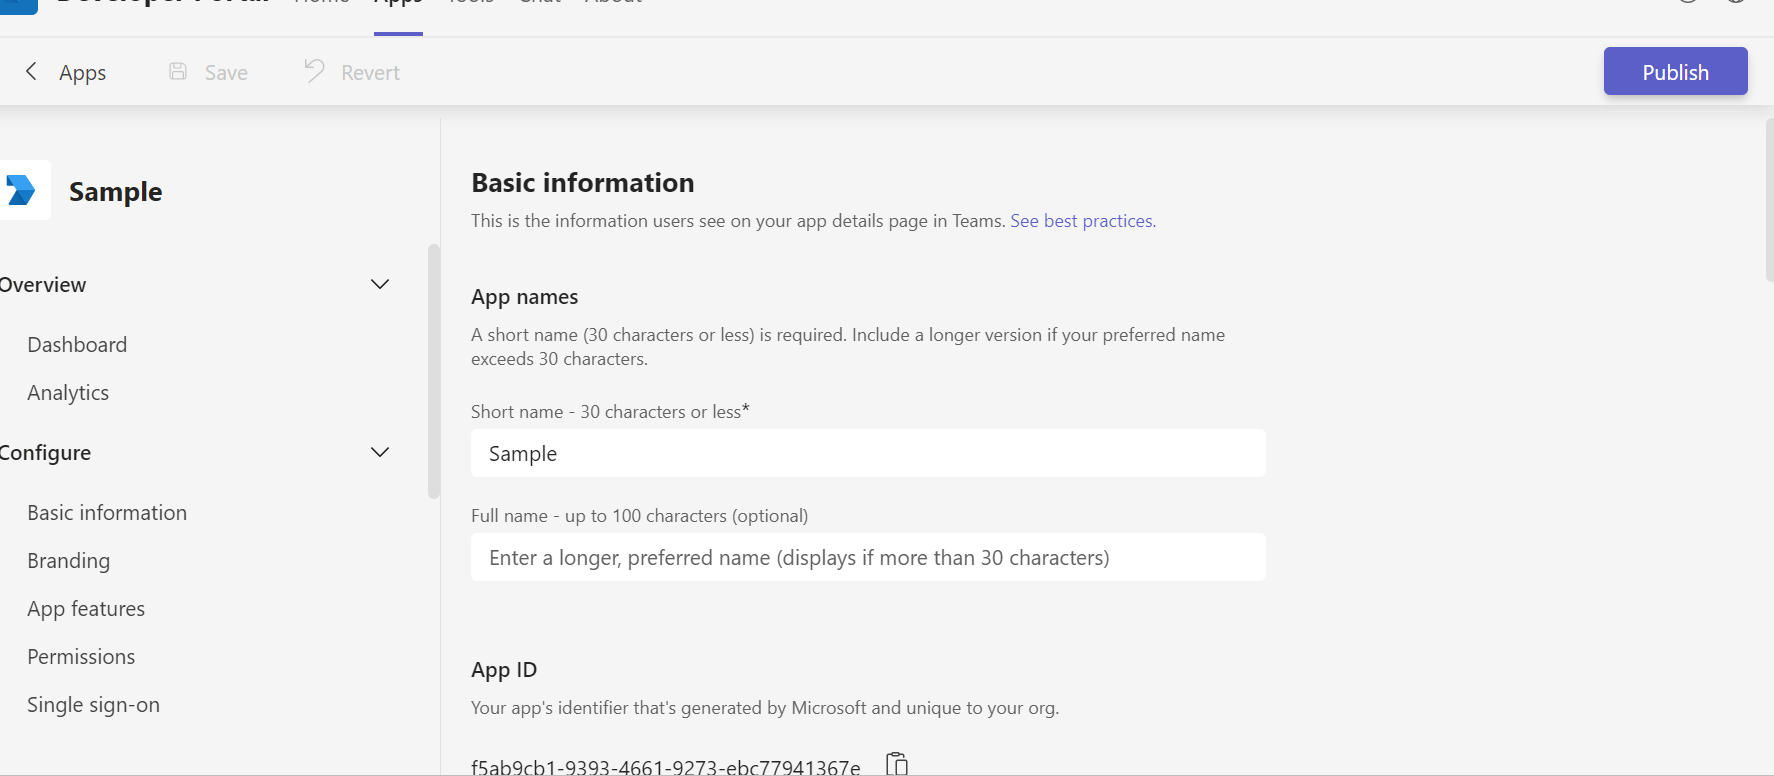
4. When you add the name of your app, you will be asked to provide the Developer name, terms of use etc in the _Basic Information_ section. Fill out all the details carefully and then click on the _Save_ button.
5. Next, visit the _Branding_ section to add your icon and other display information.
6. Click on the _App Features_ section and select _Bot_.
7. Next, create one Bot by selecting _Create a new Bot_.
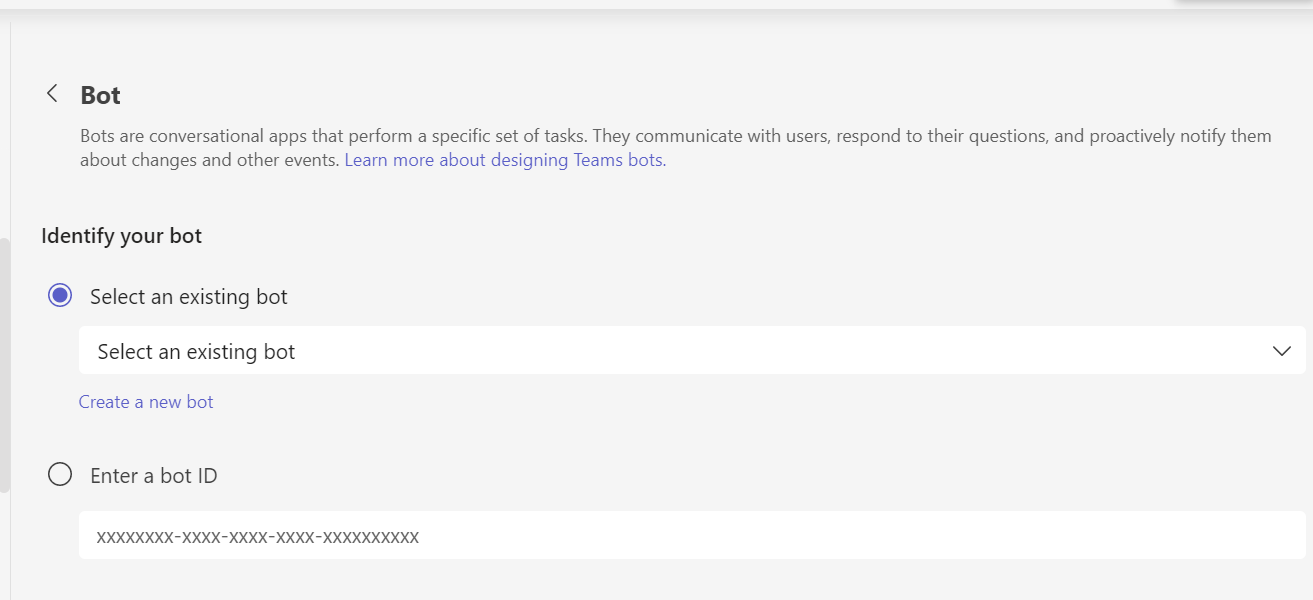
8. Here, you will see the **+** icon to add a new Bot.

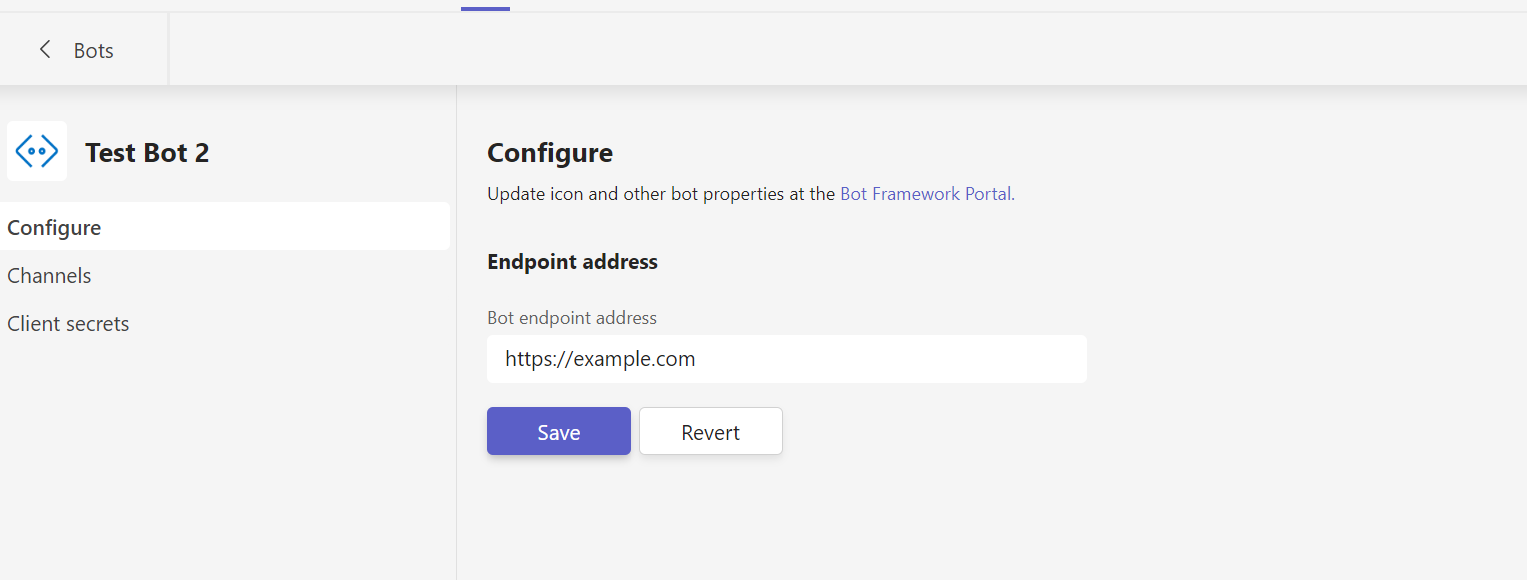
9. After giving Name to the Bot, you need to configure the endpoint address. Set this to [Teams Bot End Point]
10. Click on the _Client Secrets_ option and then _Generate Client Secret_. (Keep this information handy it will be required during OAuth Registration with Knit.)

11. Now, copy this key as it is a one time secret. After clicking _OK _ you will be shown the below screen and your Bot would have been configured.

12.Now you need to link this bot to your newly created App in _Step 6_. You will see this bot in the dropdown. Select this Bot, then select _Team_ scope and click on _Save_ button.
Distributing your app to clients
1. Click on the _Publish_ button on the top right corner in the app home page.

2. You will see the following options.
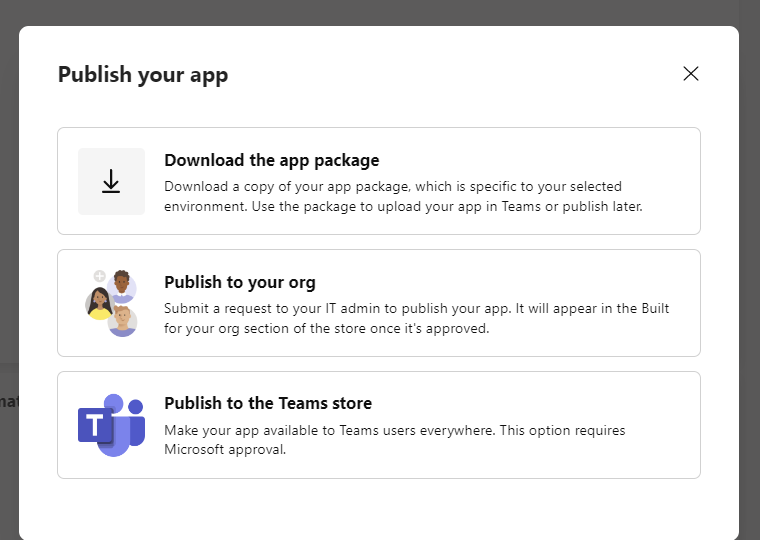
To use within your org, select publish to org. For distributing to clients download the package.
3. If you have followed the right steps and filled in all the necessary information correctly, you will be able to download it.
If you have missed any of mandatory fields, errors will be listed for missing fields shown in the image below
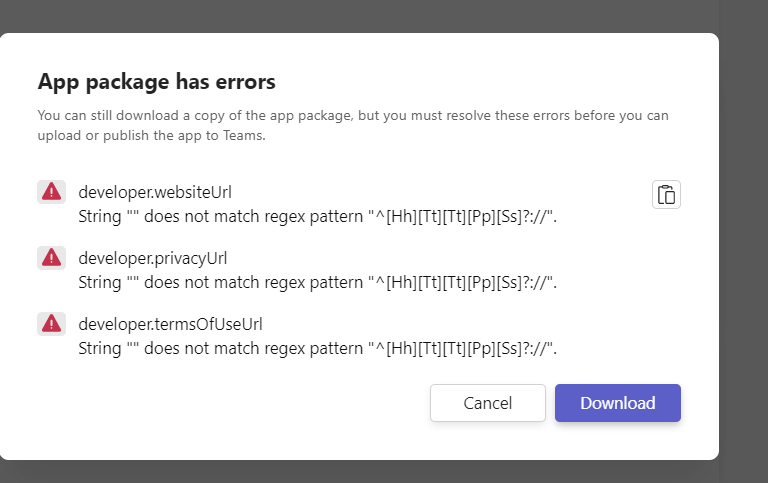
4. In the example above, the developer website URL, privacy terms etc. are missing. You need to fix all errors before you can download the package. It can be used to install in any team using steps described in the section _Using Knit's Teams Bot_.


%20(3).png)
.webp)
.webp)

